Google
Two of my favorite things in the world is jewelry making and painting.
So I thought, why not put them together. The paintings that you will
find in my shop, were all inspired by pieces of jewelry that I made for
the shop.
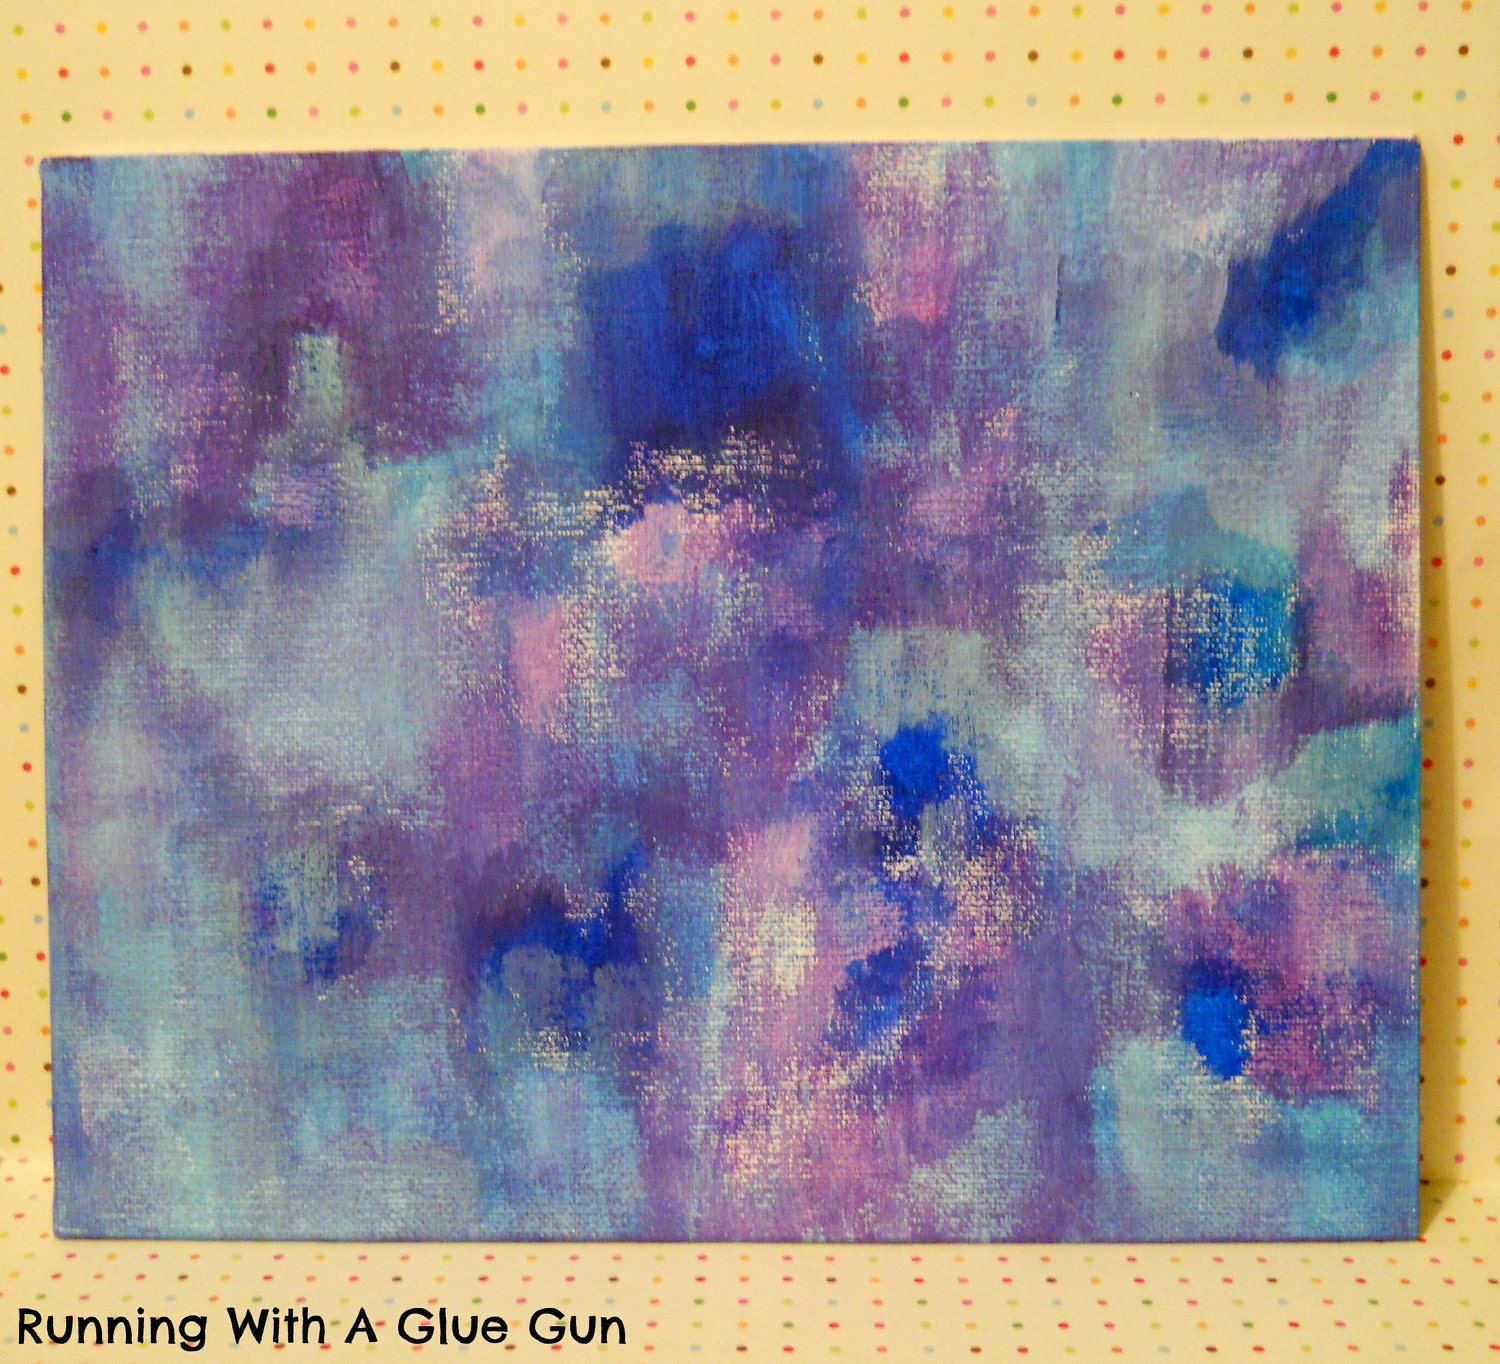
The paining above is an original acrylic painting on
canvas and was inspired by my Splash Of Purple Necklace. The painting
itself is 8 by 10 inches. The colors in this painting are a little
lighter then what the picture is showing.
*This item is handmade and one of a kind, which means that I can not remake it. So once this item is gone it's gone.*
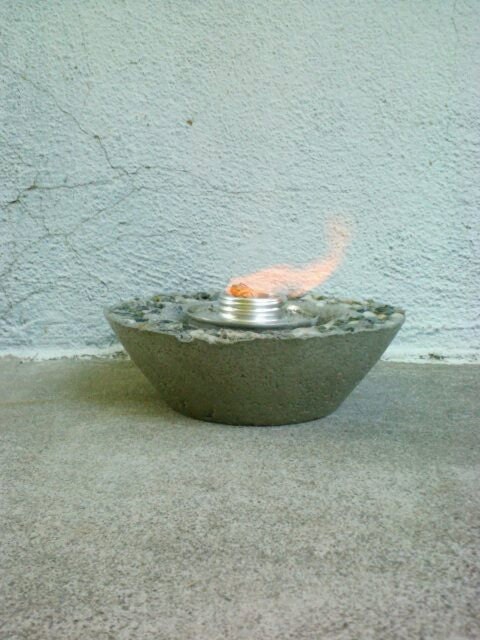
Concrete Fire Bowl, Bowl, Trinket Holder. Bird Feeder, Candy Dish. Succulent Holder
This
concrete fire bowl can be used for a multitude of things. Use it as a
fire bowl, a planter for succulents, or a small outdoor planter, a
tealight holder, votive candle holder, candy dish, soap holder or
trinket holder. It can be used indoors or outdoors. This bowl is
decorated with small rocks that are set permanently on the rim.
To
use as a fire bowl: Just add a can of Sterno, or other gel fuel. Gel
fuel can be purchased at most home improvement/hardware stores. That is
not included and I do not send that out.
These are made to order
and so they will vary slightly in size and color, as no two are alike. I
sand them to remove some of the rough patches, but they are not
perfectly smooth, as I tend to like the more nature feeling concrete as
opposed to the perfectly smooth, store bought concrete.
I do add a clear water resistant topcoat to help keep the life of the bowls and it does add a slight shine.
These
do not come with the flowers or the concrete or glass vase fillers. If
you are interested in those, please convo me. The vase concrete vase
fillers are $2.00 each.
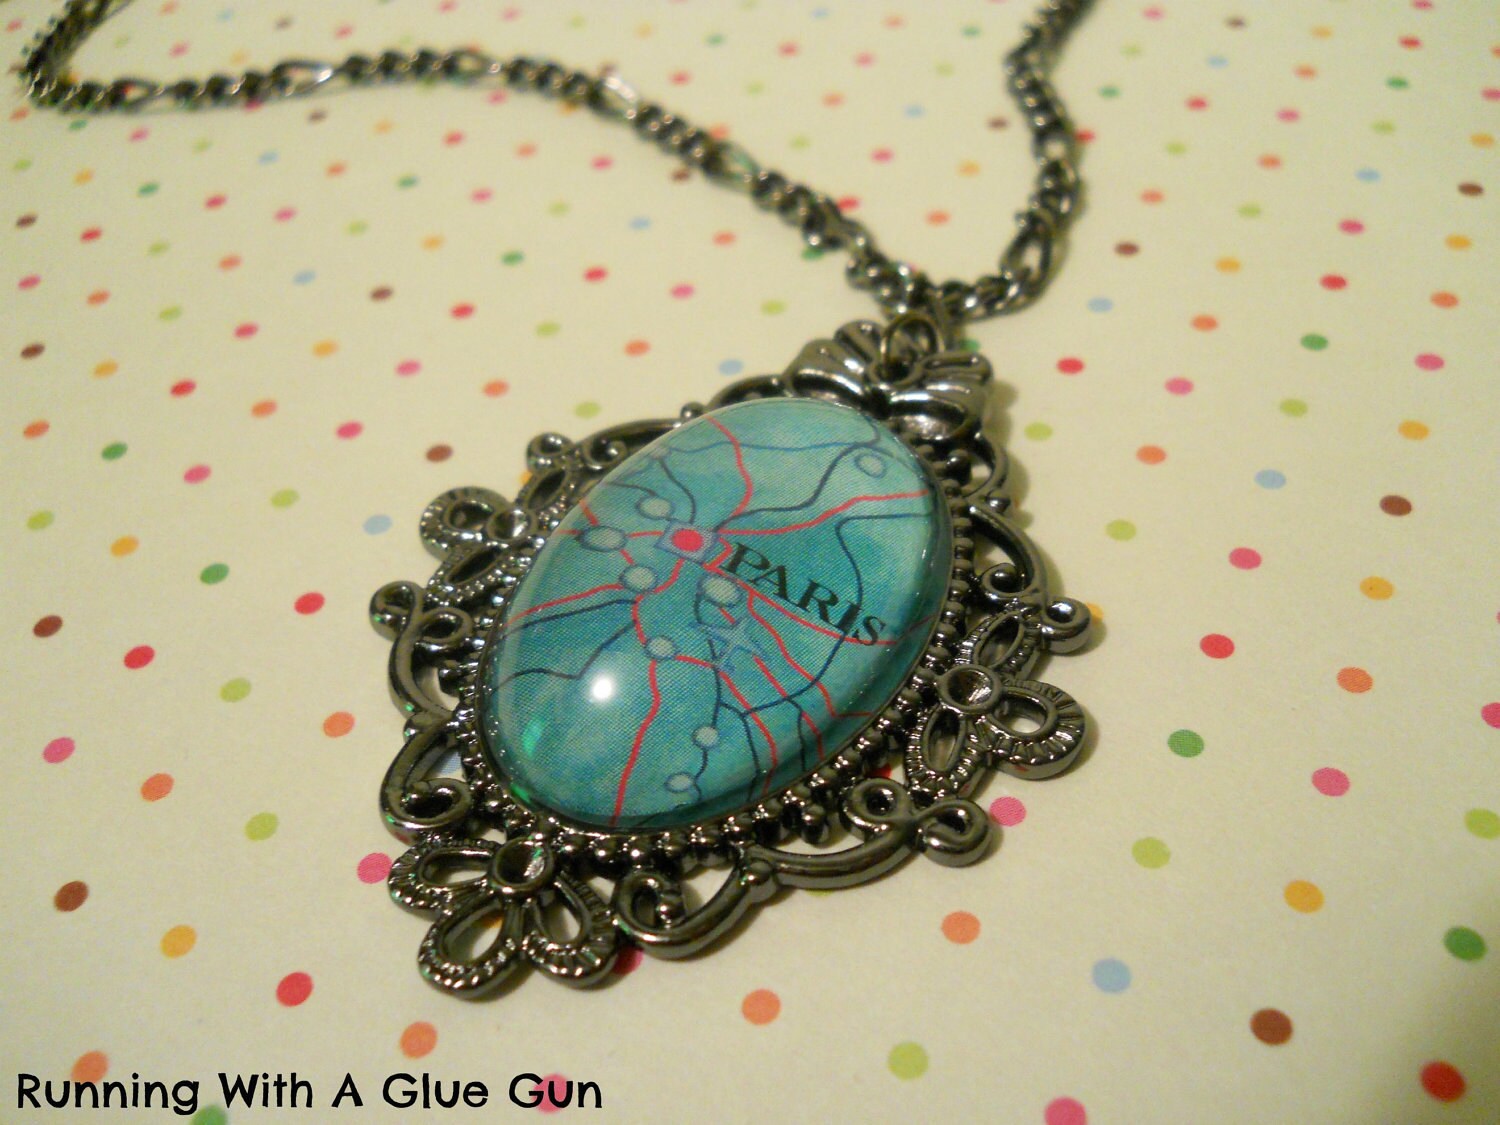
This necklace is great for the Paris lover in you. The chain is a deep
silver and measures 16 11/16 inches also this necklace is not
adjustable. The Paris map charm is 2 4/16 by 1 13/16 inches.
All jewelry is handmade and one of a kind.
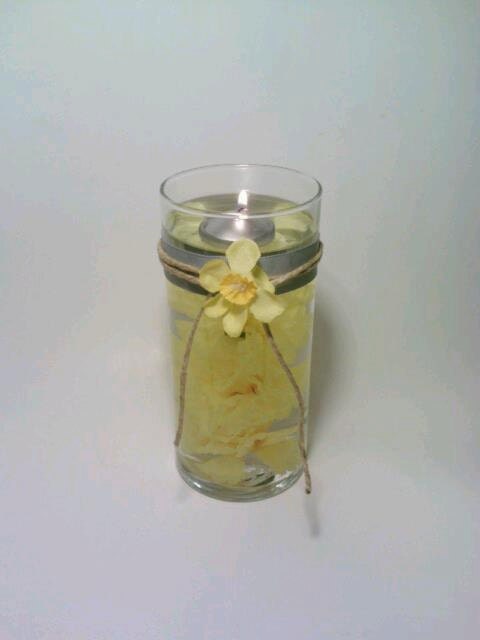
Flower Centerpiece, Glass Vase Centerpiece, Shabby Chic Centerpiece. Wedding
This
beautiful, but simple glass wedding centerpiece would look great for an
indoor or outdoor event. I used artificial yellow flowers and added a
gray ribbon, an off-white rope and a yellow flower. This is topped off
with a silver floating candle.
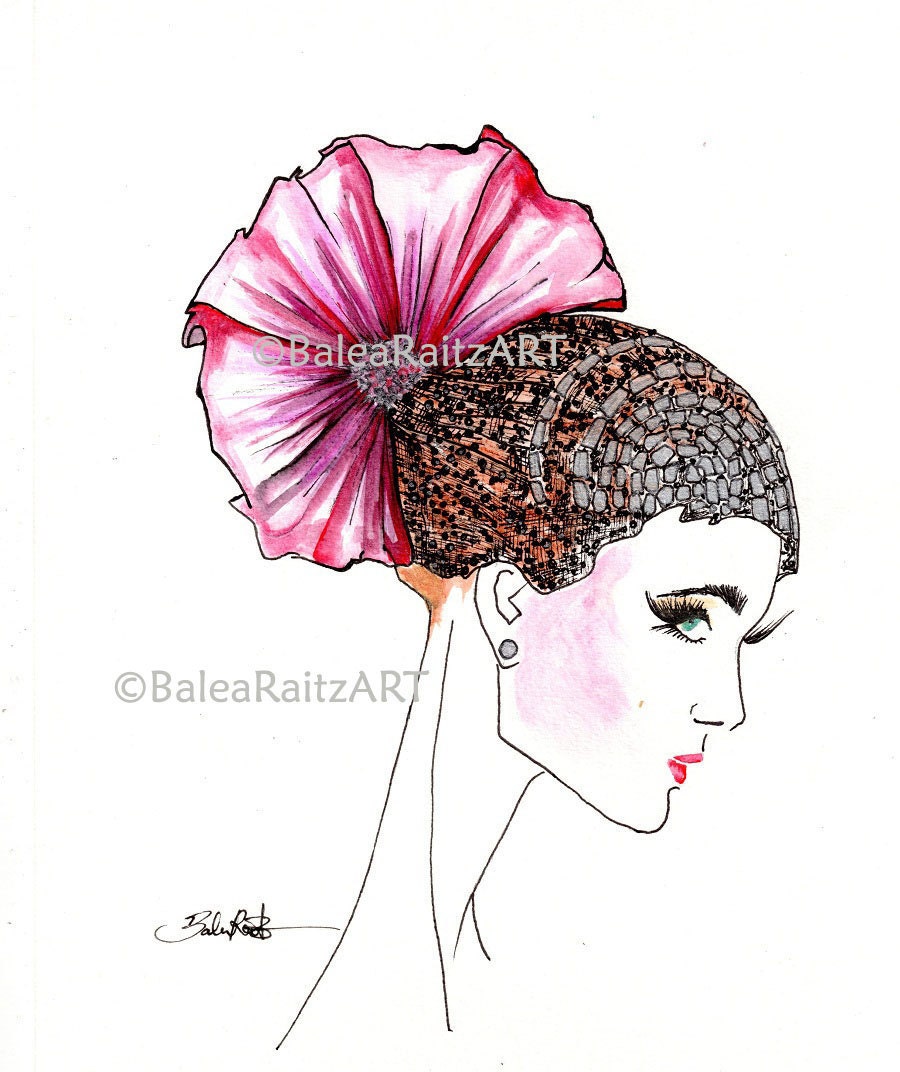
If you love fashion, weddings and illustrations this is the perfect art for your wall!
Size: 8x10inch
Paper: 300gsm high quality acid free watercolor paper.
Illustration comes without the frame!
This illustration is handmade and makes a perfect gift not only for a bride.
This is an ORIGINAL - NO PRINT!
Feel free to browse in my shop for more designs:)
http://www.etsy.com/shop/BaleaRaitzART
Thank for stopping by and checking out the teams new items! I hope you come back soon to see what other neat stuff we are all working on!